 Save to Pinterest
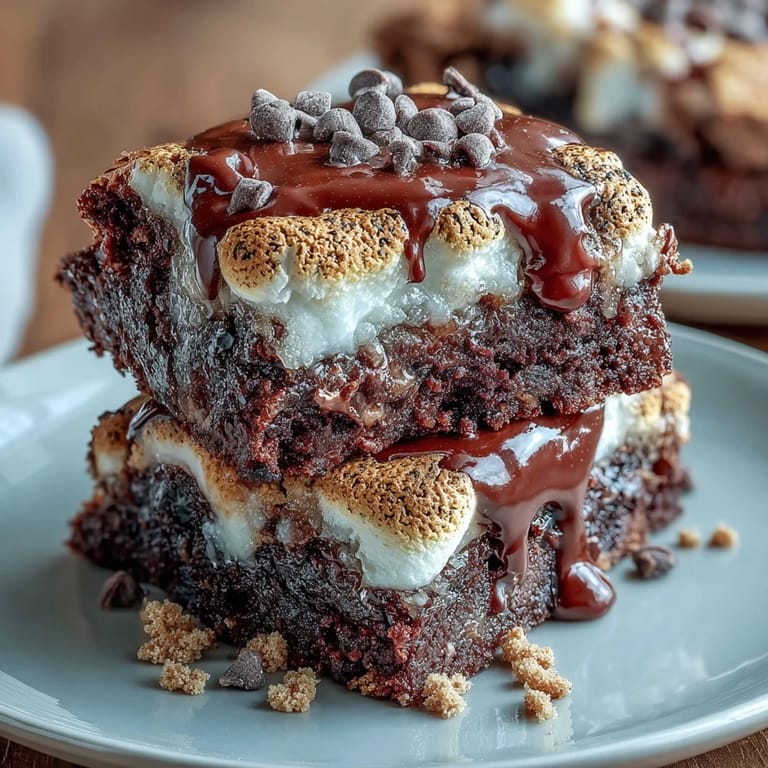
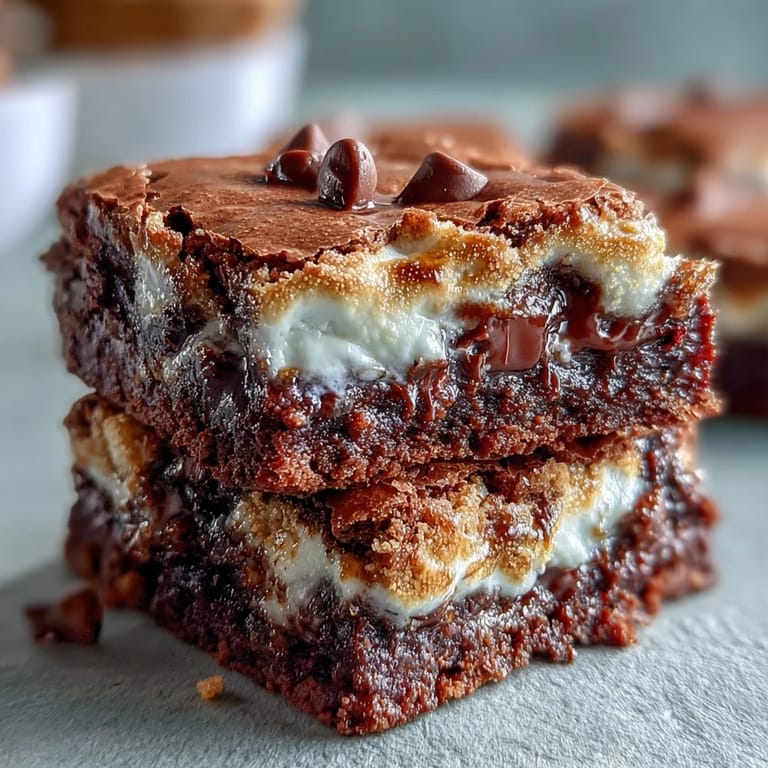
 My kitchen smelled like a campfire without leaving the house, and honestly, that's when I knew these s'mores brownie cookies were going to be trouble. I'd grabbed a brownie mix on a whim, thinking I'd make something simple, but then the idea hit me: what if I stopped pretending s'mores belonged only to campgrounds and brought that gooey, charred marshmallow magic into cookie form? The first batch came out looking chaotic in the best way, with marshmallows melting unevenly and graham cracker bits creating this beautiful textured mess. My partner walked in mid-bake and asked if something was on fire, which honestly felt like the highest compliment these cookies could get.
I made these for my sister's book club night, thinking they'd be a fun addition to the usual dessert rotation. Instead, they became the only thing people talked about, and not in the casual way—in the way where someone asks for the recipe three times because they didn't believe it was really that simple. One friend kept saying it was unfair how good they were for so little effort, which felt like exactly the kind of compliment a recipe deserves.
Ingredients
- Brownie mix: This is your secret weapon for depth—a quality mix gives you that fudgy base without the fuss, and it's actually more forgiving than starting from scratch.
- Eggs and vegetable oil: These bind everything and create that essential chewy texture that makes people say 'wow' with their mouth full.
- Water: Just enough to bring the dough together without making it cakey—this is the detail that separates chewy from cakey.
- Semi-sweet chocolate chips: Choose ones you'd actually eat by the handful because they're doing real work here, not just sitting there.
- Crushed graham crackers: Don't pulverize them into dust; you want distinct little shards for texture and that nostalgic s'mores flavor.
- Large marshmallows: One per cookie, and please don't skip this step—they're the whole point, the marshmallow moment that makes these special.
- Mini chocolate chips and extra graham crackers (optional): These garnishes feel fancy but take literally ten seconds to sprinkle, so why not?
Tired of Takeout? 🥡
Get 10 meals you can make faster than delivery arrives. Seriously.
One email. No spam. Unsubscribe anytime.
Instructions
- Set the stage:
- Preheat your oven to 350°F and line two baking sheets with parchment paper—this is your foundation for cookies that don't stick and clean up that feels almost easy.
- Mix the brownie base:
- Combine the brownie mix, eggs, oil, and water in a large bowl, stirring until just barely combined and no dry streaks remain. Over-mixing makes tough cookies, so stop as soon as you see everything come together.
- Fold in the texture:
- Gently fold in the chocolate chips and crushed graham crackers, keeping that chewy dough from getting overworked. You'll notice the dough gets little flecks of brown and tan, which is exactly what you want.
- Shape and space:
- Scoop heaping tablespoons of dough onto the prepared baking sheets, leaving about 2 inches between each cookie because they'll spread slightly and you want them to bake as individuals, not blend into a sheet. You're aiming for about 18 cookies.
- First bake:
- Bake for 8 to 9 minutes, until the edges look set but the centers still feel soft when you gently press the dough. This is not the time for a fully baked cookie—you're going for chewy.
- Add the marshmallows:
- Remove the cookies from the oven and immediately press one large marshmallow into the center of each cookie, pressing gently so it stays put. The residual heat will start softening the marshmallows right away.
- Second bake for the melt:
- Return the cookies to the oven for 1 to 2 minutes, until the marshmallows puff up and start to look glossy. You'll see them change—that's when you know they're ready.
- Toast the tops (optional but recommended):
- If you're feeling the campfire vibes, switch to broil and watch those marshmallows for about 30 seconds until they turn golden brown. Step away from the oven door, because they go from perfect to overdone in a heartbeat.
- Finishing touches:
- Immediately sprinkle mini chocolate chips and extra graham cracker crumbs over the warm cookies if you're using them—the heat will help them stick slightly. This is where you make them look as good as they taste.
- Cool and transfer:
- Let the cookies cool on the baking sheets for 5 minutes so the marshmallows set slightly, then move them to a wire rack to cool completely. Patience here means the marshmallows won't pull off when you pick them up.
 Save to Pinterest
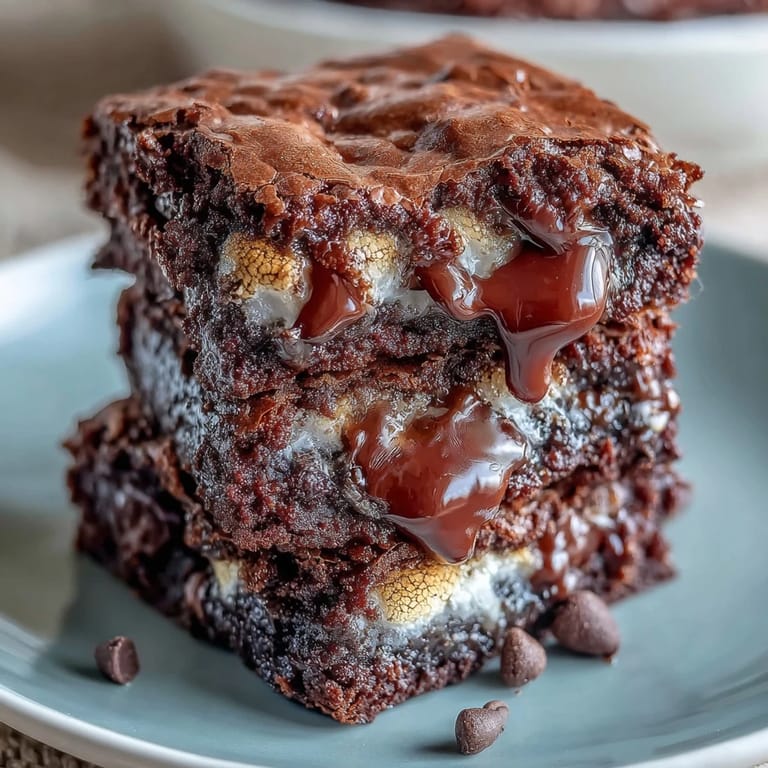
 There's something almost meditative about this recipe, watching the marshmallows transform from solid white to puffed and slightly melted. My nephew took one look at these cooling on the rack and asked if they were 'the fancy kind from the store,' which is when I realized these cookies had made it into something worth remembering.
Why Marshmallow Timing Matters More Than You Think
The marshmallow isn't just decoration—it's the whole reason we're here, and getting it right changes everything. I learned this the hard way when I tried adding marshmallows before baking and ended up with flat, spread-out cookies that looked sad. Now I know: press the marshmallow onto a warm cookie, give it those extra 1 to 2 minutes in the oven while the cookie is still radiating heat, and you get this perfect balance where the marshmallow is melted but not deflated, sticky but structured.
The Graham Cracker Element
Don't skip crushing your own graham crackers from actual sheets if you can help it—the flavor is so much more pronounced than store-bought crumbs, and you get better texture. I once used pre-crushed ones thinking I was being efficient, and the cookies tasted like they were trying to remind me of s'mores instead of actually being s'mores. Now I crush them by hand right into the dough, which takes maybe two minutes and makes an enormous difference in how real these taste.
Storage and Variations to Keep It Interesting
These cookies stay soft and delicious in an airtight container for up to three days, which means you can make a batch and actually stretch the enjoyment instead of eating eighteen cookies in one sitting. Well, I mean, you can do that too if you want. If you want to play around, try adding a pinch of cinnamon to the dough for warmth, or use dark chocolate chips instead of semi-sweet for something a little more sophisticated—though I'll admit the semi-sweet version is the one I keep coming back to.
- A kitchen torch makes marshmallow toasting feel like you're actually at a campfire and gives you more control than the broiler.
- These cookies are naturally vegetarian, but always double-check your marshmallow brand because some use gelatin that makes them off-limits for certain diets.
- If you're making these for a crowd, you can prepare and scoop the dough ahead of time, then bake fresh right before serving for maximum marshmallow drama.
 Save to Pinterest
 These s'mores brownie cookies are the kind of recipe that feels like you pulled off something way more complicated than you actually did. They're proof that sometimes the best desserts come from breaking the rules a little and bringing the campfire indoors.
Recipe Questions & Answers
- → How can I ensure the cookies stay soft?
Baking the cookies until just set helps maintain a chewy center. Avoid overbaking and remove them promptly from the oven before adding the marshmallow topping.
- → Can I use other types of chocolate chips?
Yes, swapping semi-sweet for dark or milk chocolate chips can adjust sweetness and flavor to your preference.
- → What’s the best way to toast the marshmallows evenly?
Broiling the cookies for 30 seconds while watching closely or using a kitchen torch ensures an even golden toast without melting excessively.
- → How should I store these cookies to keep freshness?
Store the cooled cookies in an airtight container at room temperature for up to three days to preserve texture and flavor.
- → Can I add spices to enhance flavor?
A pinch of cinnamon or a dash of vanilla extract added to the mix can complement the chocolate and graham cracker notes beautifully.