 Save to Pinterest
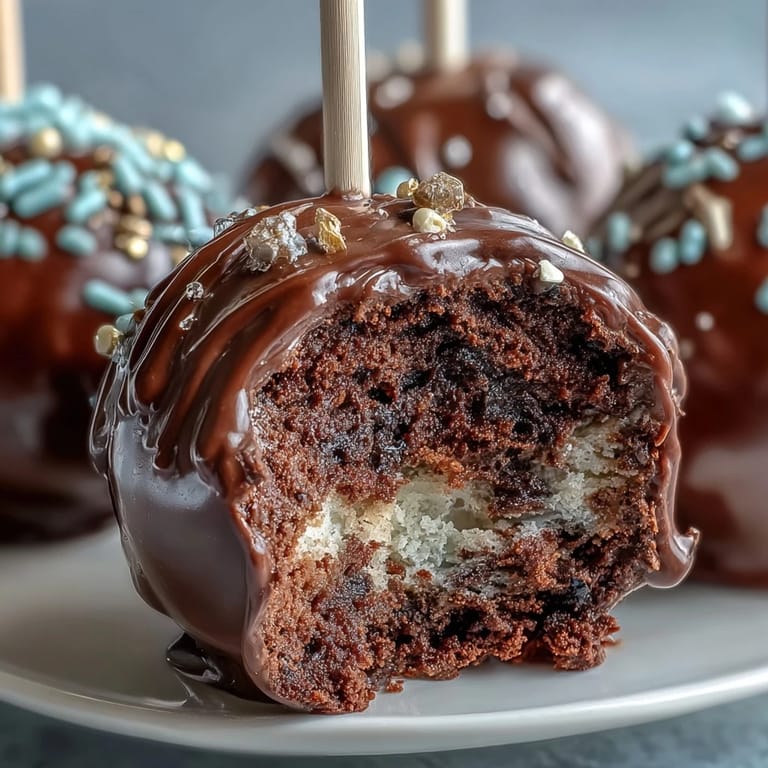
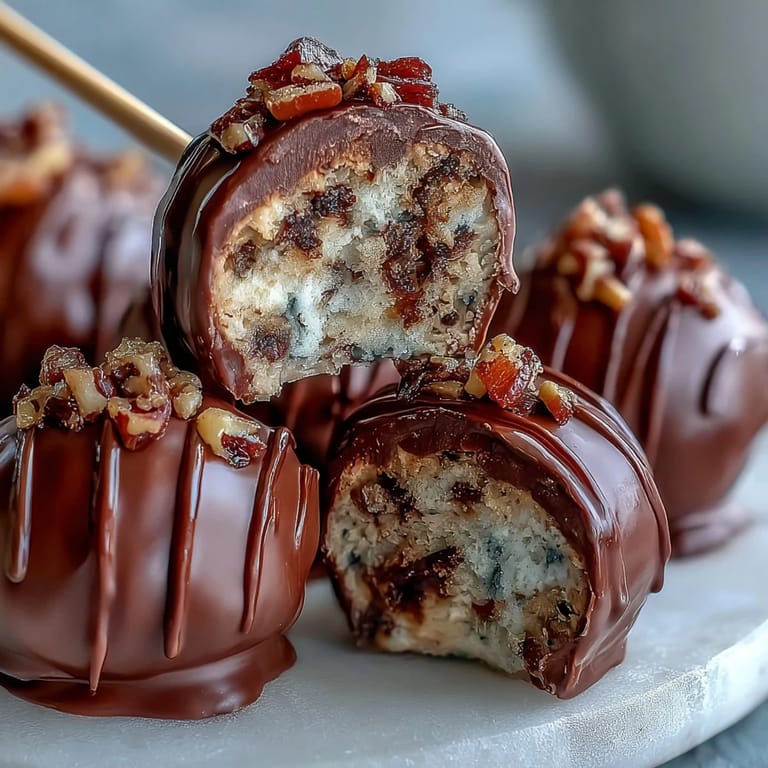
 Last spring, my cousin called in a panic two days before her graduation party—she wanted something that screamed celebration but didn't require fancy baking skills. We ended up making these cake pops together in her tiny apartment kitchen, laughing as gold sprinkles ended up absolutely everywhere, and I realized right then that these little bites had serious magic. They're not just dessert; they're a way to turn an ordinary cake into something that feels special enough for a milestone moment.
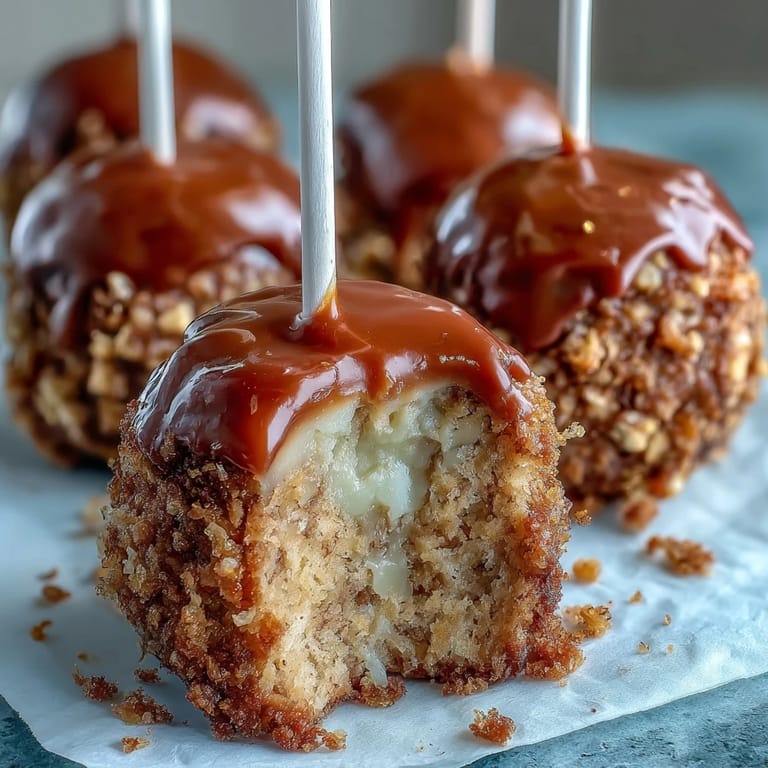
I made a batch for my neighbor's daughter's graduation open house, and watching people's faces light up when they grabbed one of these golden pops made the whole two-hour effort feel worth it. One guest asked if I'd bought them from a bakery, and honestly, that compliment hit different coming from someone who didn't realize it started with a box mix and some frosting.
Ingredients
- Vanilla or chocolate cake mix: Start with quality cake mix because it's the foundation—don't worry about making cake from scratch here, the frosting is what elevates everything.
- Unsalted butter and powdered sugar: The frosting is what binds everything together, so use soft butter and don't skip the beating step; it creates the fluffy texture that makes rolling easier.
- Milk and vanilla extract: These two ingredients add moisture and flavor to the frosting, keeping it from tasting too sweet and one-dimensional.
- Candy melts in school colors: This is your decorating star—quality matters here because cheap candy melts can be thick and hard to work with, so invest a little if you can.
- Vegetable shortening or coconut oil: This optional ingredient is actually a game-changer; it thins the candy melts slightly so they coat smoothly without cracking.
- Gold sprinkles or edible gold glitter: The moment these hit the wet candy coating, everything transforms—they're not just decoration, they're the finishing touch that says this is celebratory.
- Lollipop sticks and Styrofoam block: The sticks need to be inserted while everything is still chilled, and the Styrofoam becomes your drying station, so don't skip these structural elements.
Tired of Takeout? 🥡
Get 10 meals you can make faster than delivery arrives. Seriously.
One email. No spam. Unsubscribe anytime.
Instructions
- Bake your cake base:
- Follow the box instructions exactly and don't rush the cooling—a warm cake will mess with your frosting ratio later. Let it sit on the counter until it's completely cool to the touch.
- Create fluffy frosting:
- Beat the softened butter for a full minute before adding sugar; this aerates it and makes the final texture lighter. Keep mixing until it looks like clouds.
- Combine cake and frosting:
- Crumble the cooled cake finely into your bowl, then add frosting gradually—you're looking for a texture that holds together when squeezed but doesn't feel greasy. Too wet and your pops will slide off the sticks.
- Roll into uniform balls:
- Use a tablespoon or small cookie scoop to keep them all roughly the same size; this matters because they'll cook evenly on the drying block. A chilling step here is non-negotiable—rushing it leads to loose pops.
- Secure the sticks:
- Secure the sticks:
- Dip each stick in melted candy melt first, then insert it halfway into the ball; this acts like edible glue and prevents spinning. Work quickly so the candy sets before the stick shifts.
- Coat in school colors:
- Melt each color separately and keep them warm but not hot, stirring in a little shortening if they're too thick. Dip each pop smoothly, letting excess drip back into the bowl.
- Add the sparkle:
- While the coating is still tacky, immediately sprinkle on the gold—hesitate even a few seconds and it won't stick. This is the moment that makes them feel special.
- Let them set completely:
- Patience here makes the difference between a coating that cracks and one that's perfectly smooth. Wait until they're hard before stacking or packaging.
 Save to Pinterest
 There's something about handing someone one of these pops and watching them hesitate for just a second before biting into it—that moment of discovery when they realize it's actually cake, not just pretty decoration, never gets old. These little bites became the thing everyone asked me to make again.
Choosing Your School Colors
This is where the fun really starts because the color combinations can make or break the visual impact. Bright jewel tones like deep purple and gold, or navy and white, photograph beautifully and feel sophisticated even though they're technically party food. If your school colors are trickier to find in candy melts, you can always mix two colors together to create something close—red and blue make purple, for example, and white can lighten anything that's too dark.
Timing and Prep Strategy
The actual work spans two hours but it's broken into chunks, so you're not standing in the kitchen exhausted before the party even starts. I learned to bake and chill everything the day before, then spend just thirty minutes on the fun decorating part the morning of the event. That way you're fresh and focused when you're dipping and sprinkling, which is when the pops actually look their best.
Storage and Display Ideas
These little pops are sturdy enough to travel and pretty enough to display without any fancy plating—I've stacked them in clear containers tied with school-colored ribbon, and I've also stood them upright in a vase filled with colored tissue paper for a real showstopper presentation. Room temperature storage for up to three days means you can make them a day or two ahead, and they'll taste fresher than anything from a bakery.
- Tie thin ribbons around the sticks in alternating school colors for an extra touch that takes thirty seconds but looks intentional.
- If you're transporting them, keep them in a sturdy box with parchment between layers so the gold doesn't rub off.
- Make a few extra pops because people tend to grab more than one once they taste them.
 Save to Pinterest
 These cake pops turned into my signature graduation gift, the thing people request by name when someone's hitting a milestone. They prove that celebration food doesn't need to be complicated to feel genuinely special.
Recipe Questions & Answers
- → What type of cake works best for these pops?
Both vanilla and chocolate cakes provide a sturdy yet moist base that complements the creamy frosting perfectly.
- → How do you ensure the cake balls hold together?
Mixing the crumbled cake with the right amount of frosting until it's moist but not wet helps the balls keep their shape during dipping.
- → Why are gold sprinkles used?
Gold sprinkles add a festive, sparkling finish that elevates the appearance, making the pops ideal for celebratory events.
- → Can I use different candy melt colors?
Yes, any candy melt colors can be used to match themes or preferences, though the suggested colors highlight school spirit.
- → How long should the pops chill before dipping?
Chilling the cake balls for at least an hour helps them firm up, making them easier to dip and decorate without falling apart.
- → What is the purpose of vegetable shortening in the coating?
Adding shortening to melted candy melts smooths the coating and makes dipping easier, resulting in a neater finish.