 Save to Pinterest
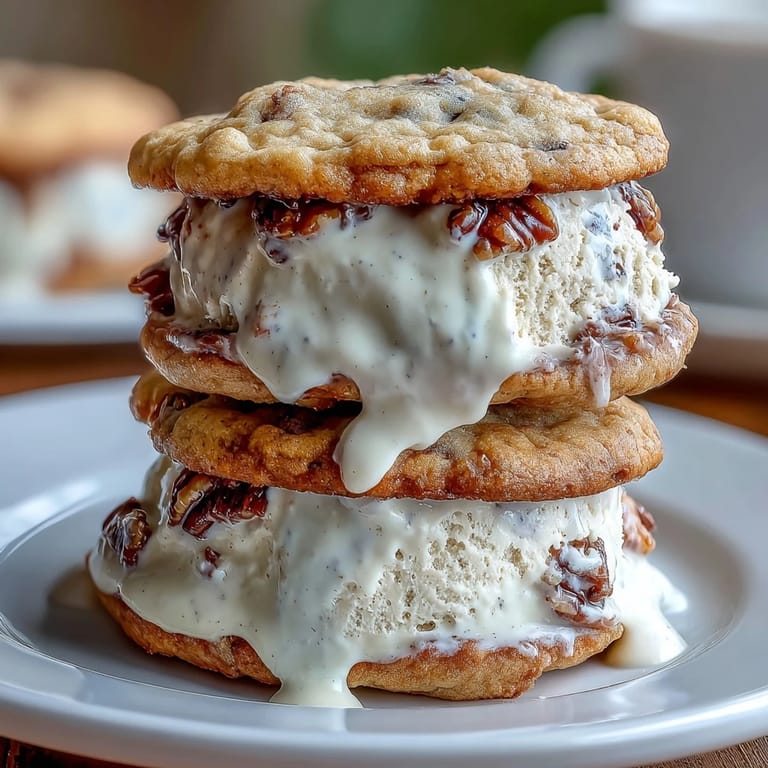
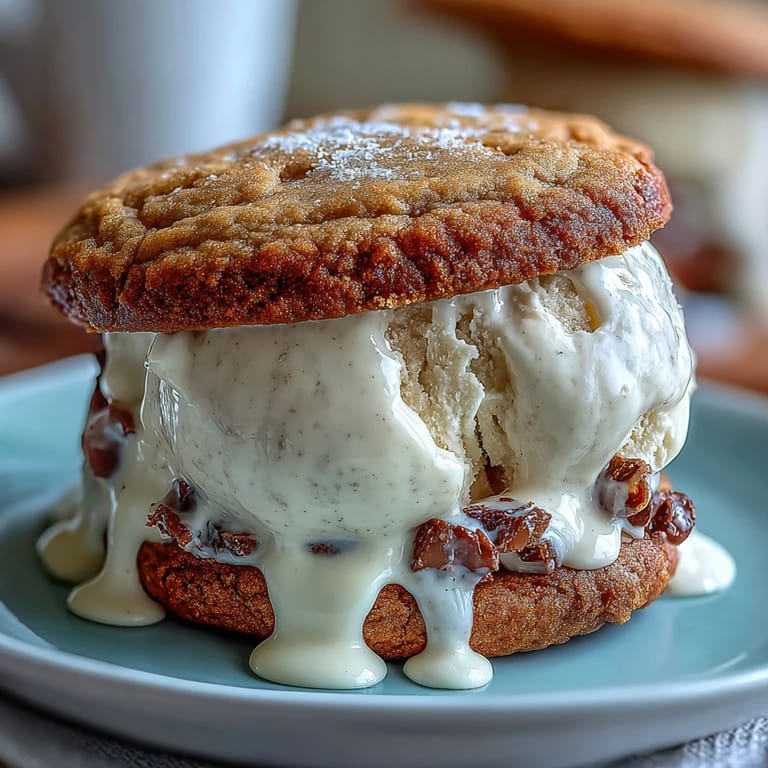
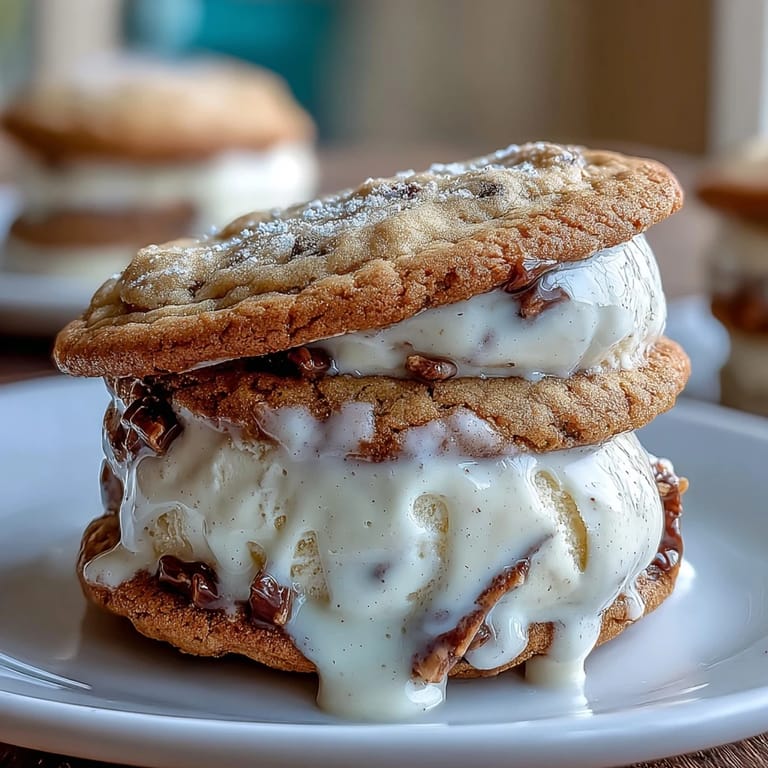
 My friend texted me a photo of a Frappuccino one summer afternoon, and I found myself staring at it longer than necessary, thinking about how that coffee-vanilla combination would taste as something you could actually hold in your hand. Three hours later I was elbow-deep in cookie dough, the kitchen smelling like espresso and butter, convinced I was onto something ridiculous and wonderful. These sandwiches ended up being exactly what I needed that week—something cold, something sweet, something that tasted like a coffee shop memory between two butter cookies.
I made these for my coworker's birthday picnic on a sweltering day in July, and watching them melt slightly on people's fingers while they closed their eyes in that satisfied way made me realize this wasn't just dessert—it was a small moment of relief nobody was expecting. Someone asked for the recipe before they'd even finished eating, which might be the highest compliment a homemade treat can get.
Ingredients
- Unsalted butter (1 cup, softened): Room temperature is non-negotiable here because you need it to cream properly with the sugars and become light and fluffy.
- Light brown sugar and granulated sugar (1 cup each): The brown sugar brings molasses depth while the granulated sugar keeps things tender—using both is the secret to cookies that feel like they belong in a fancy coffee shop.
- Eggs (2 large): These bind everything and add richness, so don't skimp on size or temperature.
- Instant espresso powder (2 tbsp): This is what makes the cookies taste like actual coffee without making them bitter, and it's worth buying the good stuff because the flavor difference is real.
- Vanilla extract (1 tsp): A small amount that rounds out the coffee flavor rather than competing with it.
- All-purpose flour (2 1/2 cups): Measured by spooning and leveling, not scooping, or your cookies will be too dense.
- Baking soda (1 tsp): This helps the cookies spread and become chewy in the center, which is exactly what you want here.
- Salt (1/2 tsp): A pinch that makes the coffee flavor pop and balances the sweetness.
- Heavy cream (2 cups): The foundation of silky ice cream, so use the real thing.
- Whole milk (1 cup): Lighter than cream but necessary for that perfect scoop-ability and subtle vanilla flavor.
- Granulated sugar (3/4 cup): Sweetness for the ice cream, and the amount matters because too much keeps it from freezing properly.
- Vanilla bean (1 whole, split and scraped, or vanilla bean paste): The tiny black specks aren't just visual—they're proof this ice cream is made with real vanilla, and that matters when it's the star ingredient.
- Salt (pinch): A whisper of salt in the ice cream base enhances every other flavor.
Tired of Takeout? 🥡
Get 10 meals you can make faster than delivery arrives. Seriously.
One email. No spam. Unsubscribe anytime.
Instructions
- Prepare your ice cream base first:
- Combine milk, sugar, those precious vanilla bean seeds (and the pod if you're using a whole bean), and salt in a medium saucepan and warm it gently over medium heat, stirring occasionally until the sugar dissolves and steam starts rising. You're not boiling this—you're coaxing the flavors out slowly so they infuse without cooking away.
- Cool and chill the mixture:
- Once it's steaming and smells like actual vanilla, pull it off the heat, fish out the vanilla pod, and let it sit until it's room temperature (patience here means better flavor). Stir in your heavy cream, then cover and refrigerate for at least 2 hours—overnight is even better if you have the time.
- Churn the ice cream:
- Pour your cold mixture into an ice cream maker and follow the manufacturer's instructions, which usually takes about 20 minutes and is weirdly satisfying to watch. The moment it comes out, it'll look soft and perfect—spread it into your parchment-lined 9x13-inch pan to about 3/4-inch thickness and freeze for at least 2 hours until it's firm enough to cut.
- Make the coffee cookie dough:
- Preheat your oven to 350°F and line two baking sheets with parchment paper. In a large bowl, cream your softened butter with both sugars until it's light and fluffy (this takes about 3 minutes with a mixer and you'll see it transform from grainy to pillowy).
- Add the flavor makers:
- Beat in your eggs one at a time, then add the espresso powder and vanilla extract, mixing until everything is well combined and smells absolutely incredible. The espresso powder will give the dough a subtle brown speckled look.
- Combine wet and dry:
- Whisk together your flour, baking soda, and salt in a separate bowl, then gradually add these dry ingredients to your wet ingredients, stirring just until no flour streaks remain—overmixing leads to tough cookies and nobody wants that.
- Shape and bake the cookies:
- Drop rounded tablespoons of dough onto your prepared baking sheets, flatten each one slightly to make 2.5-inch rounds, and bake for 10 to 12 minutes until the edges are set but the centers still look a tiny bit underdone. They'll firm up as they cool, and this is the difference between crunchy-around-the-edges and tender-everywhere.
- Cool completely:
- Let the cookies sit on the baking sheet for a few minutes, then transfer to a wire rack—patience again, because assembling with warm cookies will melt your ice cream before you even get started.
- Cut ice cream rounds:
- Using a round cutter that matches your cookie size, cut out ice cream rounds from your frozen slab, working quickly so they don't soften too much. If the ice cream gets soft, pop the whole pan back in the freezer for 15 minutes.
- Assemble the sandwiches:
- Place one ice cream round on the flat side of a cookie, top with another cookie (flat side down), and press gently so everything holds together. The slight pressure helps them bond without squishing the ice cream out.
- Final freeze:
- Return your assembled sandwiches to the freezer for at least 30 minutes before serving, which gives them time to firm up and makes them way less messy to eat.
 Save to Pinterest
 There's something about watching someone bite into one of these and immediately make that surprised face—the moment when cold vanilla ice cream meets soft espresso cookie and they realize this thing actually works—that makes all the prep worthwhile. It's dessert as a small act of kindness, really.
Storage and Make-Ahead Magic
These sandwiches actually improve after a day or two in the freezer because the flavors have time to meld, so making them ahead for a party is not just practical, it's smart. Wrap each one individually in parchment paper, then store them all together in a freezer bag, and they'll keep for up to 2 weeks without any ice crystals forming or flavors getting weird.
Flavor Variations and Decorating Ideas
The base recipe is perfect as-is, but once you understand how it works, you can play around without breaking anything. I've rolled the sandwich edges in mini chocolate chips before freezing, which adds a crispy sweetness, and I've also crushed up some freeze-dried coffee beans and pressed them into the sides for people who want a more intense coffee experience.
Troubleshooting and Last-Minute Thoughts
If your ice cream came out too soft after churning, it probably needed more chill time before going into the machine—that 2-hour minimum is really a minimum, not a suggestion. If your cookies spread too much and became too thin, your butter was probably warmer than room temperature or you overmixed the dough, so next time just chill the dough for 30 minutes before baking.
- If you don't have instant espresso powder, strong instant coffee works fine, but dissolve it in a tablespoon of hot water first so it distributes evenly through the dough.
- Assembly is easier if you work quickly and don't let the ice cream rounds sit out—keep a small scoop of ice cream rounds in the freezer while you work.
- Serve these straight from the freezer and eat them slowly enough to taste the coffee in the cookies before the ice cream wins out.
 Save to Pinterest
 These Vanilla Bean Frappuccino Ice Cream Sandwiches became my favorite way to feel like I'd brought a coffee shop home, and honestly, that's worth the little bit of planning and time. Make them once and you'll understand why they're worth making again.
Recipe Questions & Answers
- → How do I ensure the ice cream is smooth and creamy?
Warm the milk and sugar mixture gently until the sugar fully dissolves, then cool before adding cream. Chilling the mixture well before churning helps create a smooth texture.
- → Can I substitute espresso powder in the cookies?
Yes, strong instant coffee can replace espresso powder to maintain the rich coffee flavor in the cookies.
- → What is the best way to assemble the sandwiches?
Cut ice cream rounds using a cookie cutter matching the cookie size, then sandwich between two coffee cookies and press gently before freezing.
- → How long should the sandwiches be frozen before serving?
Freeze the assembled sandwiches for at least 30 minutes to firm up for best texture.
- → Any tips for storing the assembled sandwiches?
Wrap sandwiches individually in parchment paper and store in the freezer for up to two weeks to maintain freshness.