 Save to Pinterest
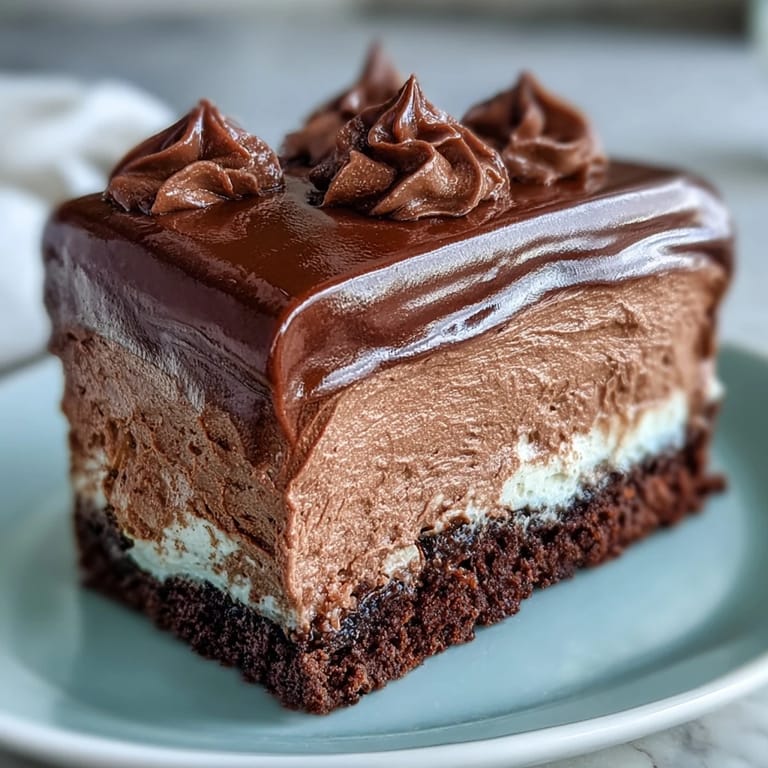
 There's a moment in every baker's life when they realize chocolate mousse isn't just a fancy restaurant dessert—it's pure magic that happens in your own kitchen. Mine came on a Tuesday afternoon when I was filling layers for a friend's birthday cake and accidentally whipped the cream too soft, but folded it into the chocolate anyway and somehow created the most ethereal, cloud-like filling I'd ever tasted. That happy accident taught me that this mousse thrives on simplicity: good chocolate, cold cream, and the gentlest hand when bringing them together.
I'll never forget pulling that birthday cake out of the fridge and watching everyone's faces light up when they bit into those silky chocolate layers. My friend closed her eyes after the first taste and said it was the best cake she'd ever had, and I realized right then that this mousse had spoiled me for store-bought fillings forever. Since that day, it's been my go-to whenever I want to turn an ordinary cake into something that feels like a celebration.
Ingredients
- Semi-sweet chocolate (200g, chopped): Quality matters here more than anywhere else in this recipe—this is where all the flavor lives, so choose chocolate you'd actually enjoy eating on its own, ideally 55–65% cocoa for that perfect balance of richness and sweetness.
- Heavy whipping cream (1 cup, cold): The cold is essential; if your cream sits out, your mousse won't reach those fluffy peaks that make it special, so keep it in the fridge until the moment you need it.
- Powdered sugar (2 tablespoons): This dissolves seamlessly into the cream and adds a gentle sweetness without graininess—you can adjust up or down depending on your chocolate choice and how sweet you like your desserts.
- Pure vanilla extract (1 teaspoon): One of those quiet ingredients that somehow makes everything taste more like itself, deepening the chocolate flavor rather than competing with it.
- Salt (pinch, optional): If you're using unsalted chocolate, this tiny pinch wakes up the cocoa and rounds out the sweetness in ways you won't consciously notice but your taste buds absolutely will.
Tired of Takeout? 🥡
Get 10 meals you can make faster than delivery arrives. Seriously.
One email. No spam. Unsubscribe anytime.
Instructions
- Melt the chocolate gently:
- Place your chopped chocolate in a heatproof bowl and melt it slowly over simmering water, stirring as it softens into a glossy puddle, or microwave it in 20-second bursts if you prefer—the key is patience and frequent stirring so it melts smoothly without seizing up. Once it's silky, set it aside to cool to room temperature, where it should still be pourable but no longer hot to the touch.
- Whip the cream to soft peaks:
- Pour your cold heavy cream into a chilled bowl, add the powdered sugar and vanilla, and whip with an electric mixer until the cream holds gentle peaks—it should look thick and fluffy but still droop slightly when you lift the whisk. Stop here; overwhipped cream will turn grainy and ruin the mousse's delicate texture.
- Fold with intention:
- Stir one spoonful of the whipped cream into your cooled chocolate first to loosen it slightly, then use a rubber spatula to gently fold in the remaining cream in two or three additions. Use a slow, sweeping motion—down the side of the bowl, across the bottom, and up the other side—folding until you see no streaks of chocolate or white, but don't overwork it or you'll deflate all that airy volume.
- Chill before serving:
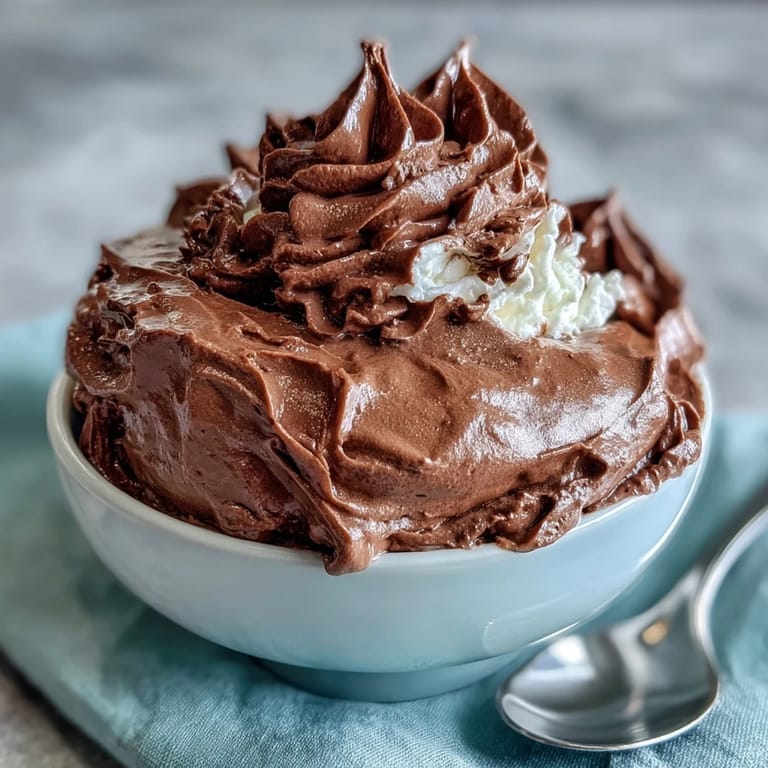
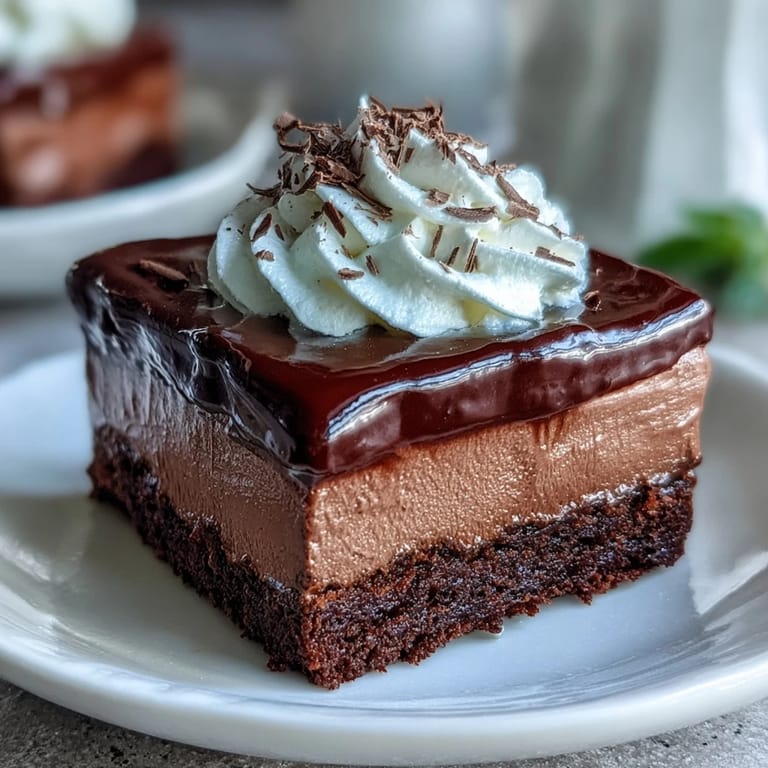
- For a mousse firm enough to layer between cakes or pipe into pretty swirls, refrigerate for 30 to 60 minutes; if you're serving it as a spoonable dessert in cups, let it chill for 1 to 2 hours until it sets into clouds. You can also use it immediately if you prefer a softer, almost sauce-like consistency.
 Save to Pinterest
 There was a moment last spring when I brought this mousse to a potluck and watched a usually quiet coworker ask for the recipe three times in the same sentence—that's when I knew I'd found something truly special. It's become the dessert I make when I want to impress people without showing off, when I want something that tastes indulgent but doesn't require hours of work.
Texture Is Everything
The magic of this mousse lives in that moment when chocolate and cream come together, and understanding the texture you're after changes everything. If you're using it as a cake filling, you want it set enough to slice cleanly between layers, which means giving it that full 60 minutes in the fridge so it firms up just enough. When you serve it in cups as its own dessert, that same texture becomes ethereal—a spoonable cloud that practically melts before you bite it—and the longer chill time is what transforms it from mousse into an experience.
The Chocolate Conversation
I learned something important about chocolate quality when I made this mousse twice in one week with different brands and the difference was impossible to ignore. The first batch used a higher-end chocolate and tasted like pure cocoa bliss, while the second batch made with a more generic option was merely sweet, the subtlety completely lost. It's not about spending a fortune; it's about finding chocolate that lists cocoa butter and cocoa solids as primary ingredients rather than sugar and fillers, because those are the flavors that actually shine through in such a simple, transparent recipe.
Variations and Flavor Friends
Once you've made the basic mousse once, you'll start seeing endless possibilities in your spice rack and pantry. A tiny pinch of cinnamon added to the melted chocolate creates warmth without announcing itself, while a splash of espresso powder mixed into the cocoa deepens the chocolate flavor in the most subtle way. I've even stirred in a whisper of Grand Marnier for an elegant twist, or added a teaspoon of instant coffee dissolved in hot water to the melted chocolate for a mocha version that converted a friend who swore she didn't like chocolate desserts.
- Espresso and cinnamon are your safest flavor adventures—they enhance rather than overwhelm the chocolate.
- If you're adding liqueurs or extracts, use them sparingly and stir them into the melted chocolate before folding in the cream.
- Always taste as you go if you're experimenting; a little change goes a long way in something this delicate.
 Save to Pinterest
 This mousse has become my answer to the question of how to make something taste restaurant-quality without the restaurant stress. It's proof that sometimes the simplest recipes, made with care and quality ingredients, are the ones that linger longest in people's memories.
Recipe Questions & Answers
- → What type of chocolate works best?
Semi-sweet chocolate with 55–65% cocoa content provides a balanced, rich flavor. High-quality chocolate enhances taste and texture.
- → How do I achieve the right cream consistency?
Whip cold heavy cream with powdered sugar and vanilla until soft peaks form, ensuring it holds shape without overwhipping.
- → Can this mousse be prepared ahead of time?
Yes, refrigerate covered for up to 2 days. Avoid freezing to maintain the mousse's delicate texture.
- → How long should the mousse chill before serving?
For firmer texture suitable for slicing or piping, chill for 30–60 minutes. Spoon immediately if a softer texture is preferred.
- → Are there flavor variations to try?
Adding a splash of espresso or a pinch of cinnamon to the melted chocolate can deepen the mousse's flavor profile.
- → Is this suitable for special diets?
This mousse is vegetarian and gluten-free, but check chocolate packaging for possible allergen cross-contamination.