 Save to Pinterest
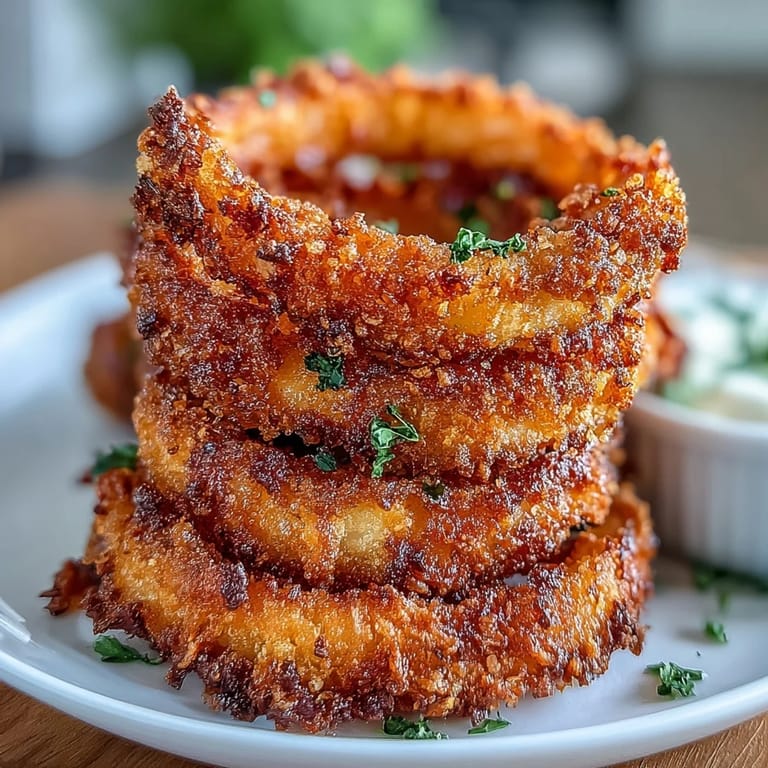
 My neighbor dropped off a basket of fresh onions from her garden one summer, and I had way too many sitting on my counter. That's when I decided to stop deep-frying everything and figure out if onion rings could actually work in the oven without tasting like cardboard. Turns out, with the right coating and a little patience, they get impossibly crispy while staying tender inside. The smoky paprika dip was born from leftover sour cream and a jar of smoked paprika I kept meaning to use for something interesting. Now this is the appetizer I make when I want something that feels indulgent but doesn't leave my kitchen smelling like a chip factory.
I made these for a casual dinner party once, and someone asked if I'd bought them from a restaurant. When I said they were baked, not fried, there was this moment of pure disbelief followed by everyone reaching for another handful. That's when I knew this recipe had real staying power—it surprised people in the best way, which is honestly the highest compliment a simple appetizer can get.
Ingredients
- Large yellow onions: Two gives you enough rings to feel generous without overdoing it; they're milder than red onions and slice into perfect, almost translucent rings.
- All-purpose flour: This is your base layer that helps everything stick together and creates structure.
- Salt and black pepper: Season at every layer—the flour, the breadcrumbs, everywhere—so the flavor builds from the inside out.
- Large eggs and milk: This mixture is your binding agent; the milk thins out the eggs so the coating isn't too thick or heavy.
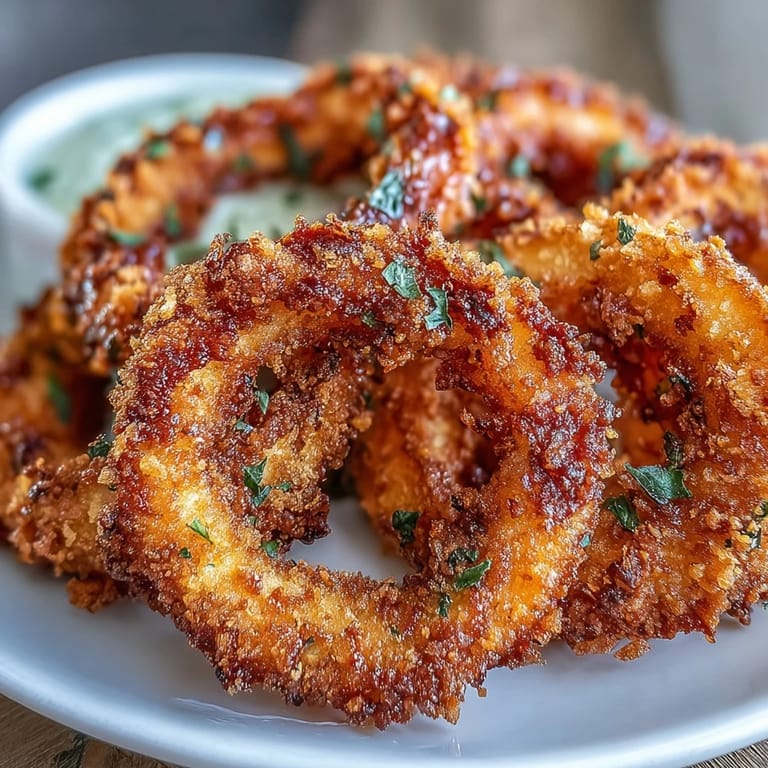
- Panko breadcrumbs: These are bigger and airier than regular breadcrumbs, which means crispier results; do not use the fine stuff.
- Garlic powder and smoked paprika: These live in both the coating and the dip, creating a cohesive flavor story that ties everything together.
- Cooking spray: This light coating is what transforms a baked coating from soggy to golden; don't skip this step out of guilt.
- Sour cream and mayonnaise: The sour cream adds tang while mayo adds richness; together they're the perfect blank canvas for the smoky flavor.
- Lemon juice: Just a teaspoon cuts through the richness and keeps the dip from tasting one-note.
Tired of Takeout? 🥡
Get 10 meals you can make faster than delivery arrives. Seriously.
One email. No spam. Unsubscribe anytime.
Instructions
- Heat your oven and prep your workspace:
- Set the oven to 425°F and line a baking sheet with parchment paper or a silicone mat. This temperature is hot enough to crisp the coating while the onions soften beneath without burning the outside.
- Slice and separate the onions:
- Cut them into rings about half an inch thick, then gently separate each ring with your fingers. Some will fall apart and that's fine—those oddly-shaped pieces coat just as well.
- Set up your three-bowl station:
- This is the secret to getting everything coated evenly without a mess. Bowl one gets flour mixed with salt and pepper, bowl two is your whisked eggs and milk, and bowl three is panko mixed with garlic powder and smoked paprika. This assembly line approach makes coating go fast.
- Coat each ring with intention:
- Drag each onion ring through the flour first, then the egg mixture, then press it gently into the breadcrumbs so they stick. The gentle pressing is key—you want the coating to cling, not explode off in the oven.
- Arrange and spray:
- Lay the rings in a single layer on your prepared sheet, then give them all a light spray of cooking oil or spray. This is non-negotiable if you want them crispy; it's what actually makes baking work instead of just drying them out.
- Bake with a flip:
- Bake for about 18 to 20 minutes, flipping them halfway through so both sides get golden. You'll know they're done when they're the color of toasted bread and smell absolutely incredible.
- Make the dip while they cook:
- Combine sour cream, mayo, smoked paprika, garlic powder, and a squeeze of lemon juice in a small bowl. Taste as you go and add salt and pepper until it feels balanced, not too tangy and not too heavy.
- Serve while hot:
- The rings are best eaten right away while they still have that crispy exterior. Set the dip alongside and watch people's faces when they realize these were baked, not fried.
 Save to Pinterest
 There's something about watching someone bite into one of these for the first time and their expression shift from skepticism to genuine surprise. These rings proved to me that you don't need oil and heat to get something crunchy and satisfying—just technique and a little respect for the process.
The Secret to Perfect Texture
The difference between rubbery baked rings and crispy ones comes down to three things: the oven temperature needs to be hot enough, the coating needs to be well-seasoned and properly pressed on, and you absolutely need that light spray of oil. I learned this the hard way after my first attempt at baking them, where I thought I was being clever by skipping the oil spray. The result was technically edible but tasted like crunchy onion-flavored nothing. Once I added the spray, everything changed. The heat and the tiny amount of oil work together to brown the panko and create actual texture instead of just drying it out.
Why the Smoky Paprika Dip Matters
It would be easy to just serve these with ketchup or ranch, but that smoky paprika dip elevates the whole experience into something that feels intentional and a little bit special. The combination of sour cream's tang with mayo's richness, all deepened by smoked paprika, creates a flavor that makes the rings taste better. It's not a complicated dip, but it's one where every ingredient has a job. I've made variations with Greek yogurt, with a touch of Dijon mustard, and even with a tiny bit of smoked salt, but the original always wins.
Making This Your Own
Once you understand the basic structure, you can play with the seasonings in the breadcrumb mixture. I've added cayenne for heat, fresh thyme, even a little bit of parmesan cheese mixed into the panko for extra flavor. The dip is equally flexible—some people swear by adding a touch of honey to balance the smoke, while others pile in the cayenne until it's practically spicy. The beauty of homemade is that you get to decide what belongs in your kitchen.
- Double-dipping a ring in the egg and breadcrumb mixture creates extra crunch if that's what you're after.
- If you make these ahead, reheat them in a 350°F oven for just a few minutes to restore their crispiness instead of the microwave, which will turn them into rubber.
- Leftover dip keeps in the fridge for about a week and is amazing with vegetables, chips, or spread on a sandwich.
 Save to Pinterest
 This recipe has become my go-to when I want to prove that baked can be just as satisfying as fried, and that simple food made with attention is worth serving to people you care about. It's the kind of appetizer that makes people feel welcome without you having to fuss for hours.
Recipe Questions & Answers
- → How do you achieve crispy baked onion rings?
Using panko breadcrumbs and lightly spraying the onion rings with oil before baking helps achieve a crispy texture similar to frying.
- → What gives the dip its smoky flavor?
Smoked paprika is the key ingredient in the dip that provides a distinctive smoky and mildly spicy flavor.
- → Can the sour cream be substituted in the dip?
Yes, Greek yogurt can be used as a lighter alternative to sour cream for the dip.
- → At what temperature should the onion rings be baked?
Bake the onion rings at 425°F (220°C) for 18-20 minutes, flipping halfway for even crispiness.
- → How can the dip be made spicier?
Adding a pinch of cayenne pepper enhances the dip’s heat without overpowering its smoky flavor.