 Save to Pinterest
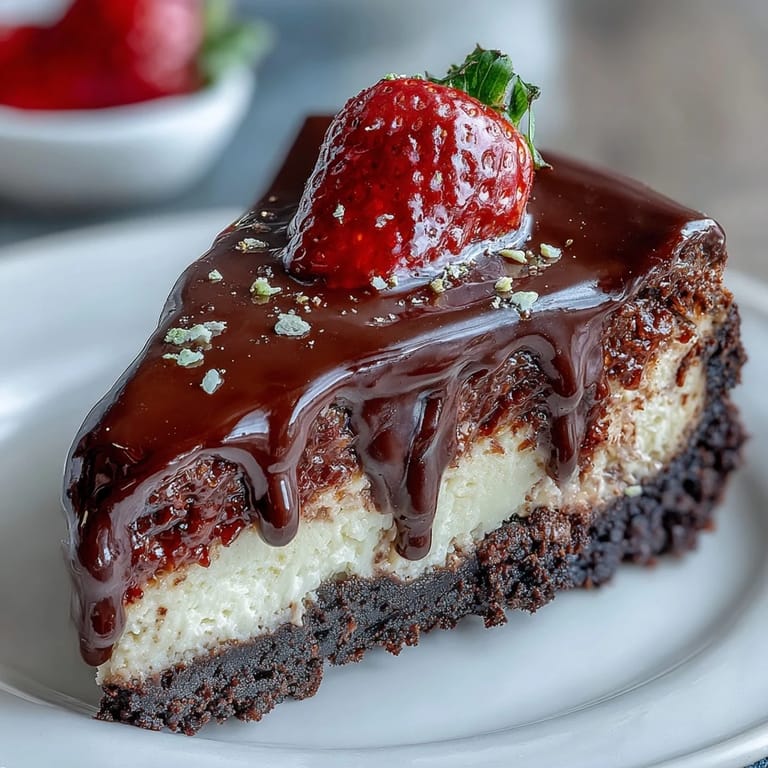
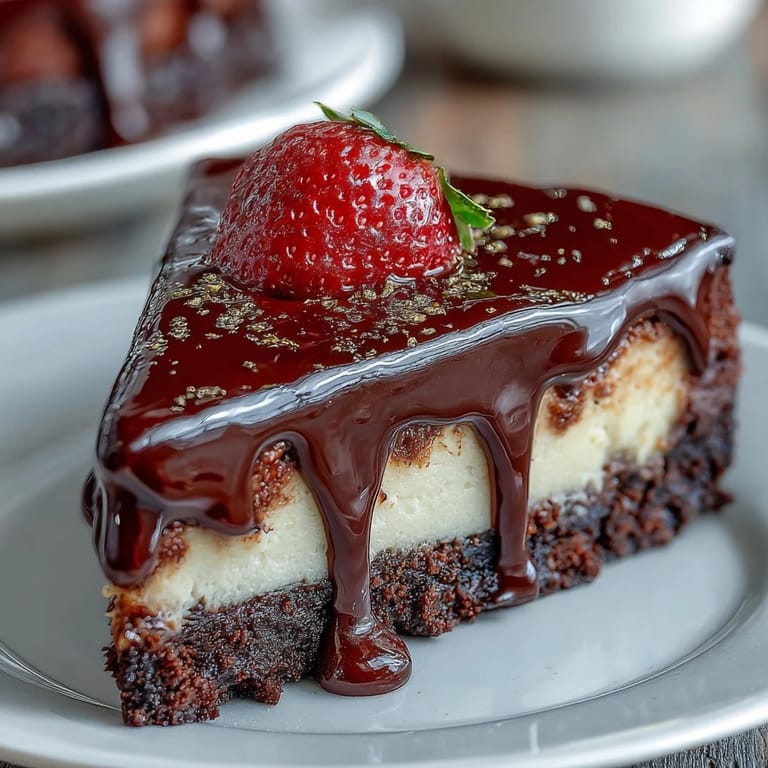
 My friend brought back a box of these from Dubai, and I remember opening it in her kitchen—the way the afternoon light caught the gold leaf on top made them look almost too beautiful to eat. She explained how the city's pastry chefs had turned the classic cheesecake into something miniature and impossibly elegant, and I knew right then I had to recreate them at home. That first bite, with the chocolate base crumbling softly and the cream cheese melting on my tongue, felt like a small luxury I didn't know I needed. Now whenever I make them, I'm transported back to that moment of discovery, and somehow they taste even better.
I made these for my sister's dinner party last summer, and watching her guests immediately reach for seconds while still chewing their first bite was such a quiet victory. Someone actually asked if I'd bought them from a fancy bakery, and I let that compliment sit for a moment before admitting the truth. The gold leaf detail seemed to matter more than expected—it transformed something homemade into something that felt like a gift.
Ingredients
- Chocolate digestive biscuits: These are your foundation, and crushing them by hand (or in a food processor) gives you control over the texture—I prefer mine still slightly chunky rather than fine crumbs.
- Unsalted butter: This binds everything together and helps the base hold its shape, so don't skip the melting step.
- Cream cheese: Make sure it's at room temperature or your filling will be lumpy, which I learned the hard way on my first attempt.
- Heavy cream: This is what gives the filling that cloud-like texture that makes people pause mid-bite.
- Powdered sugar: Sift it first if you have time—it prevents grainy filling and shows in every spoonful.
- Vanilla extract and lemon juice: These add brightness that stops the dessert from feeling one-dimensional, cutting through the richness beautifully.
- Fresh strawberries: Choose ones that are ripe but still firm, so they don't weep juice all over your carefully made cheesecake.
- Dark chocolate: The drizzle is both decoration and flavor, so pick something you'd actually eat on its own.
- Pistachios and edible gold: Optional but worth the small investment—they transform these from nice to memorable.
Tired of Takeout? 🥡
Get 10 meals you can make faster than delivery arrives. Seriously.
One email. No spam. Unsubscribe anytime.
Instructions
- Set up your stage:
- Line your mini muffin tin with paper liners first, before anything else—it sounds small, but it saves you frustration later. Having everything prepared makes the actual assembly feel effortless.
- Build the base:
- Crush your chocolate biscuits until they're mostly crumbs with some small chunks remaining, then mix with warm melted butter until the texture resembles wet sand. Press each portion firmly into the liners, using the bottom of a measuring spoon to create an even layer, then let them sit in the fridge for ten minutes so they firm up and hold their shape when you add the filling on top.
- Create the filling:
- Beat your softened cream cheese for a full minute until it's smooth and creamy—this step matters more than you'd think because any lumps will stay there permanently. Add the heavy cream, powdered sugar, vanilla, and lemon juice, then beat until the mixture is light and pillowy, stopping occasionally to scrape down the bowl.
- Fill and chill:
- Spoon or pipe the filling onto each chocolate base, smoothing the tops with the back of a small spoon if you want them picture-perfect. Slide the whole tin into the fridge for at least two hours, or until the filling is set firm—patience here is what separates these from falling apart when you pick them up.
- Add the finishing touches:
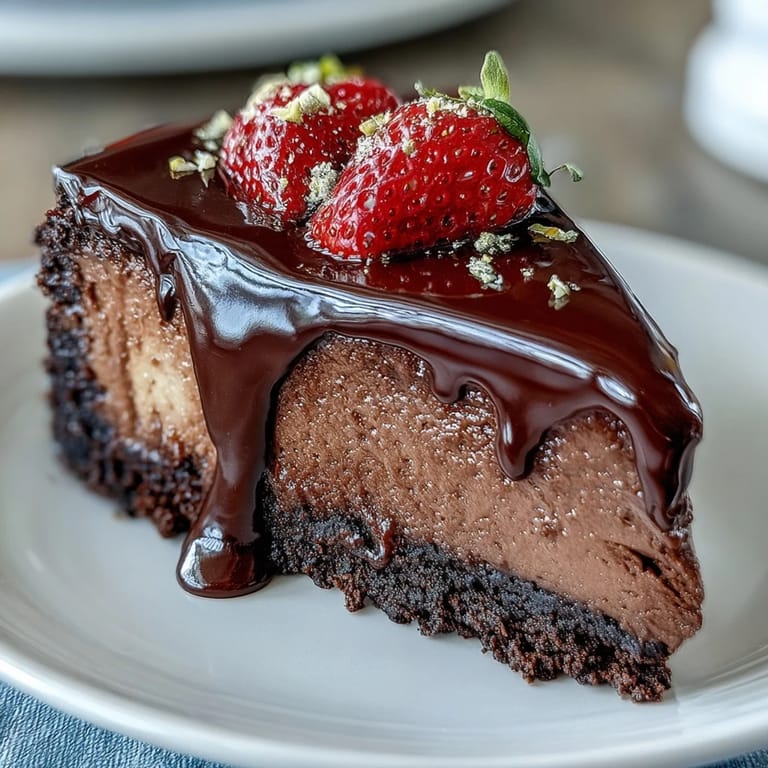
- Top each cup with a strawberry half, then drizzle with slightly cooled melted chocolate in whatever pattern feels right. A small sprinkle of pistachios and a tiny piece of gold leaf finishes the job, making them restaurant-worthy.
 Save to Pinterest
 There's something that happens when you serve something beautiful—people slow down and actually taste it instead of just eating. My neighbor took one of these to a potluck and came back raving about how three different people had asked for the recipe, and somehow that felt like the highest compliment.
The Flavor Balance That Makes Them Special
The magic here isn't in any single ingredient but in how they work together—the bitter chocolate base grounds the sweetness, while the lemon juice in the filling adds a subtle brightness that keeps your palate interested instead of overwhelmed. The fresh strawberry on top adds a real fruit element that makes these feel less indulgent and more like something you can actually justify eating on a random Tuesday afternoon. I tried making them once without the lemon juice, and they tasted flat—not bad, just forgettable, which is the worst thing a dessert can be.
Why Mini Versions Changed Everything for Me
There's something psychologically satisfying about a portion-controlled dessert that looks fancy—you get the full experience without the guilt, and you can actually eat more than one without feeling like you've abandoned all sense. They're also naturally portion-friendly for entertaining, which means less slicing and fewer questions about how much everyone gets. I started making these specifically because I wanted something that felt fancy but didn't require a full cheesecake's worth of leftover sitting in my fridge.
Storage and Make-Ahead Magic
These actually taste better the next day once the flavors have had time to settle, so making them a day ahead is genuinely the smart move, not a compromise. They keep beautifully in the refrigerator for up to three days in an airtight container, and you can even prepare the bases and filling separately a day before, then assemble them fresh without stress. The gold leaf and strawberry topping should always go on just before serving so the strawberries stay firm and the chocolate stays glossy.
- Make the bases up to two days ahead and store them covered at room temperature, then fill them whenever you need them.
- The cheesecake filling keeps refrigerated for three days before assembly, so you could theoretically spread your work across multiple days.
- Frozen unfilled bases (in their liners) will keep for up to a month, making these a secretly convenient dessert to have on standby for unexpected guests.
 Save to Pinterest
 These little cups prove that impressive desserts don't have to be complicated, and that sometimes the most luxurious moment happens not during the eating, but when you see someone's face light up as they take their first bite. Make them, share them, and watch what happens.
Recipe Questions & Answers
- → What type of biscuits are best for the base?
Chocolate digestive biscuits crushed finely create a sturdy and flavorful base that holds the creamy filling well.
- → How long should the cups chill before serving?
Chill the cheesecake cups in the refrigerator for a minimum of 2 hours to ensure the filling sets properly.
- → Can I substitute strawberries with other fruits?
Yes, raspberries or blueberries work beautifully as alternative toppings, adding different flavor notes.
- → Is it necessary to use edible gold leaf?
No, the edible gold leaf is optional and serves as a luxurious decorative touch inspired by Dubai.
- → How can I enhance the filling’s flavor?
Adding a pinch of cardamom to the filling gives a subtle, aromatic warmth that complements the creamy texture.